Decks and fences take constant punishment from Victoria‘s weather: rain, UV exposure, temperature swings, and moisture. Without proper protection, wood deteriorates quickly, leaving you with expensive repairs, safety hazards, or full replacement costs that run into thousands of dollars.
At Islanders’ Choice Painting Co, we provide complete deck and fence painting and staining services that protect your outdoor structures and enhance your property’s appearance. We handle thorough cleaning and prep work, apply high-quality stains or paints designed specifically for exterior wood, and ensure proper coverage on all surfaces including hard-to-reach areas.
With over 2,000 completed projects and 200+ five-star reviews, we’ve proven that professional deck and fence protection extends the life of your investment by years. Our 3-year workmanship warranty backs every project, giving you confidence that your outdoor structures are properly protected against Victoria‘s challenging coastal climate.
Professional Deck & Fence Painters
Full-Spectrum Exterior Structure Protection
Wood is beautiful but vulnerable. Left unprotected, Victoria‘s moisture causes rot, UV exposure fades and degrades fibers, temperature changes cause splitting and warping, and general weathering turns once-beautiful wood gray and splintered within just a few years.
Islanders’ Choice Painting Co protects wood structures using proven products and application techniques refined over hundreds of projects. We offer both painting and staining (roughly a 50/50 split in our area based on customer preference), each with distinct advantages depending on your wood type, aesthetic goals, and maintenance expectations.
Our process starts with thorough cleaning to remove dirt, mildew, and failed coatings. We make minor repairs as needed, sand rough areas, and ensure proper surface preparation. We apply quality stains or paints formulated for exterior wood durability, ensuring complete coverage including railings, balusters, and undersides where moisture damage often starts.
The result is protected wood that resists moisture penetration, UV degradation, and premature deterioration. Proper maintenance extends deck and fence life by 10+ years compared to untreated wood, saving you thousands in replacement costs while keeping your outdoor spaces safe and beautiful.


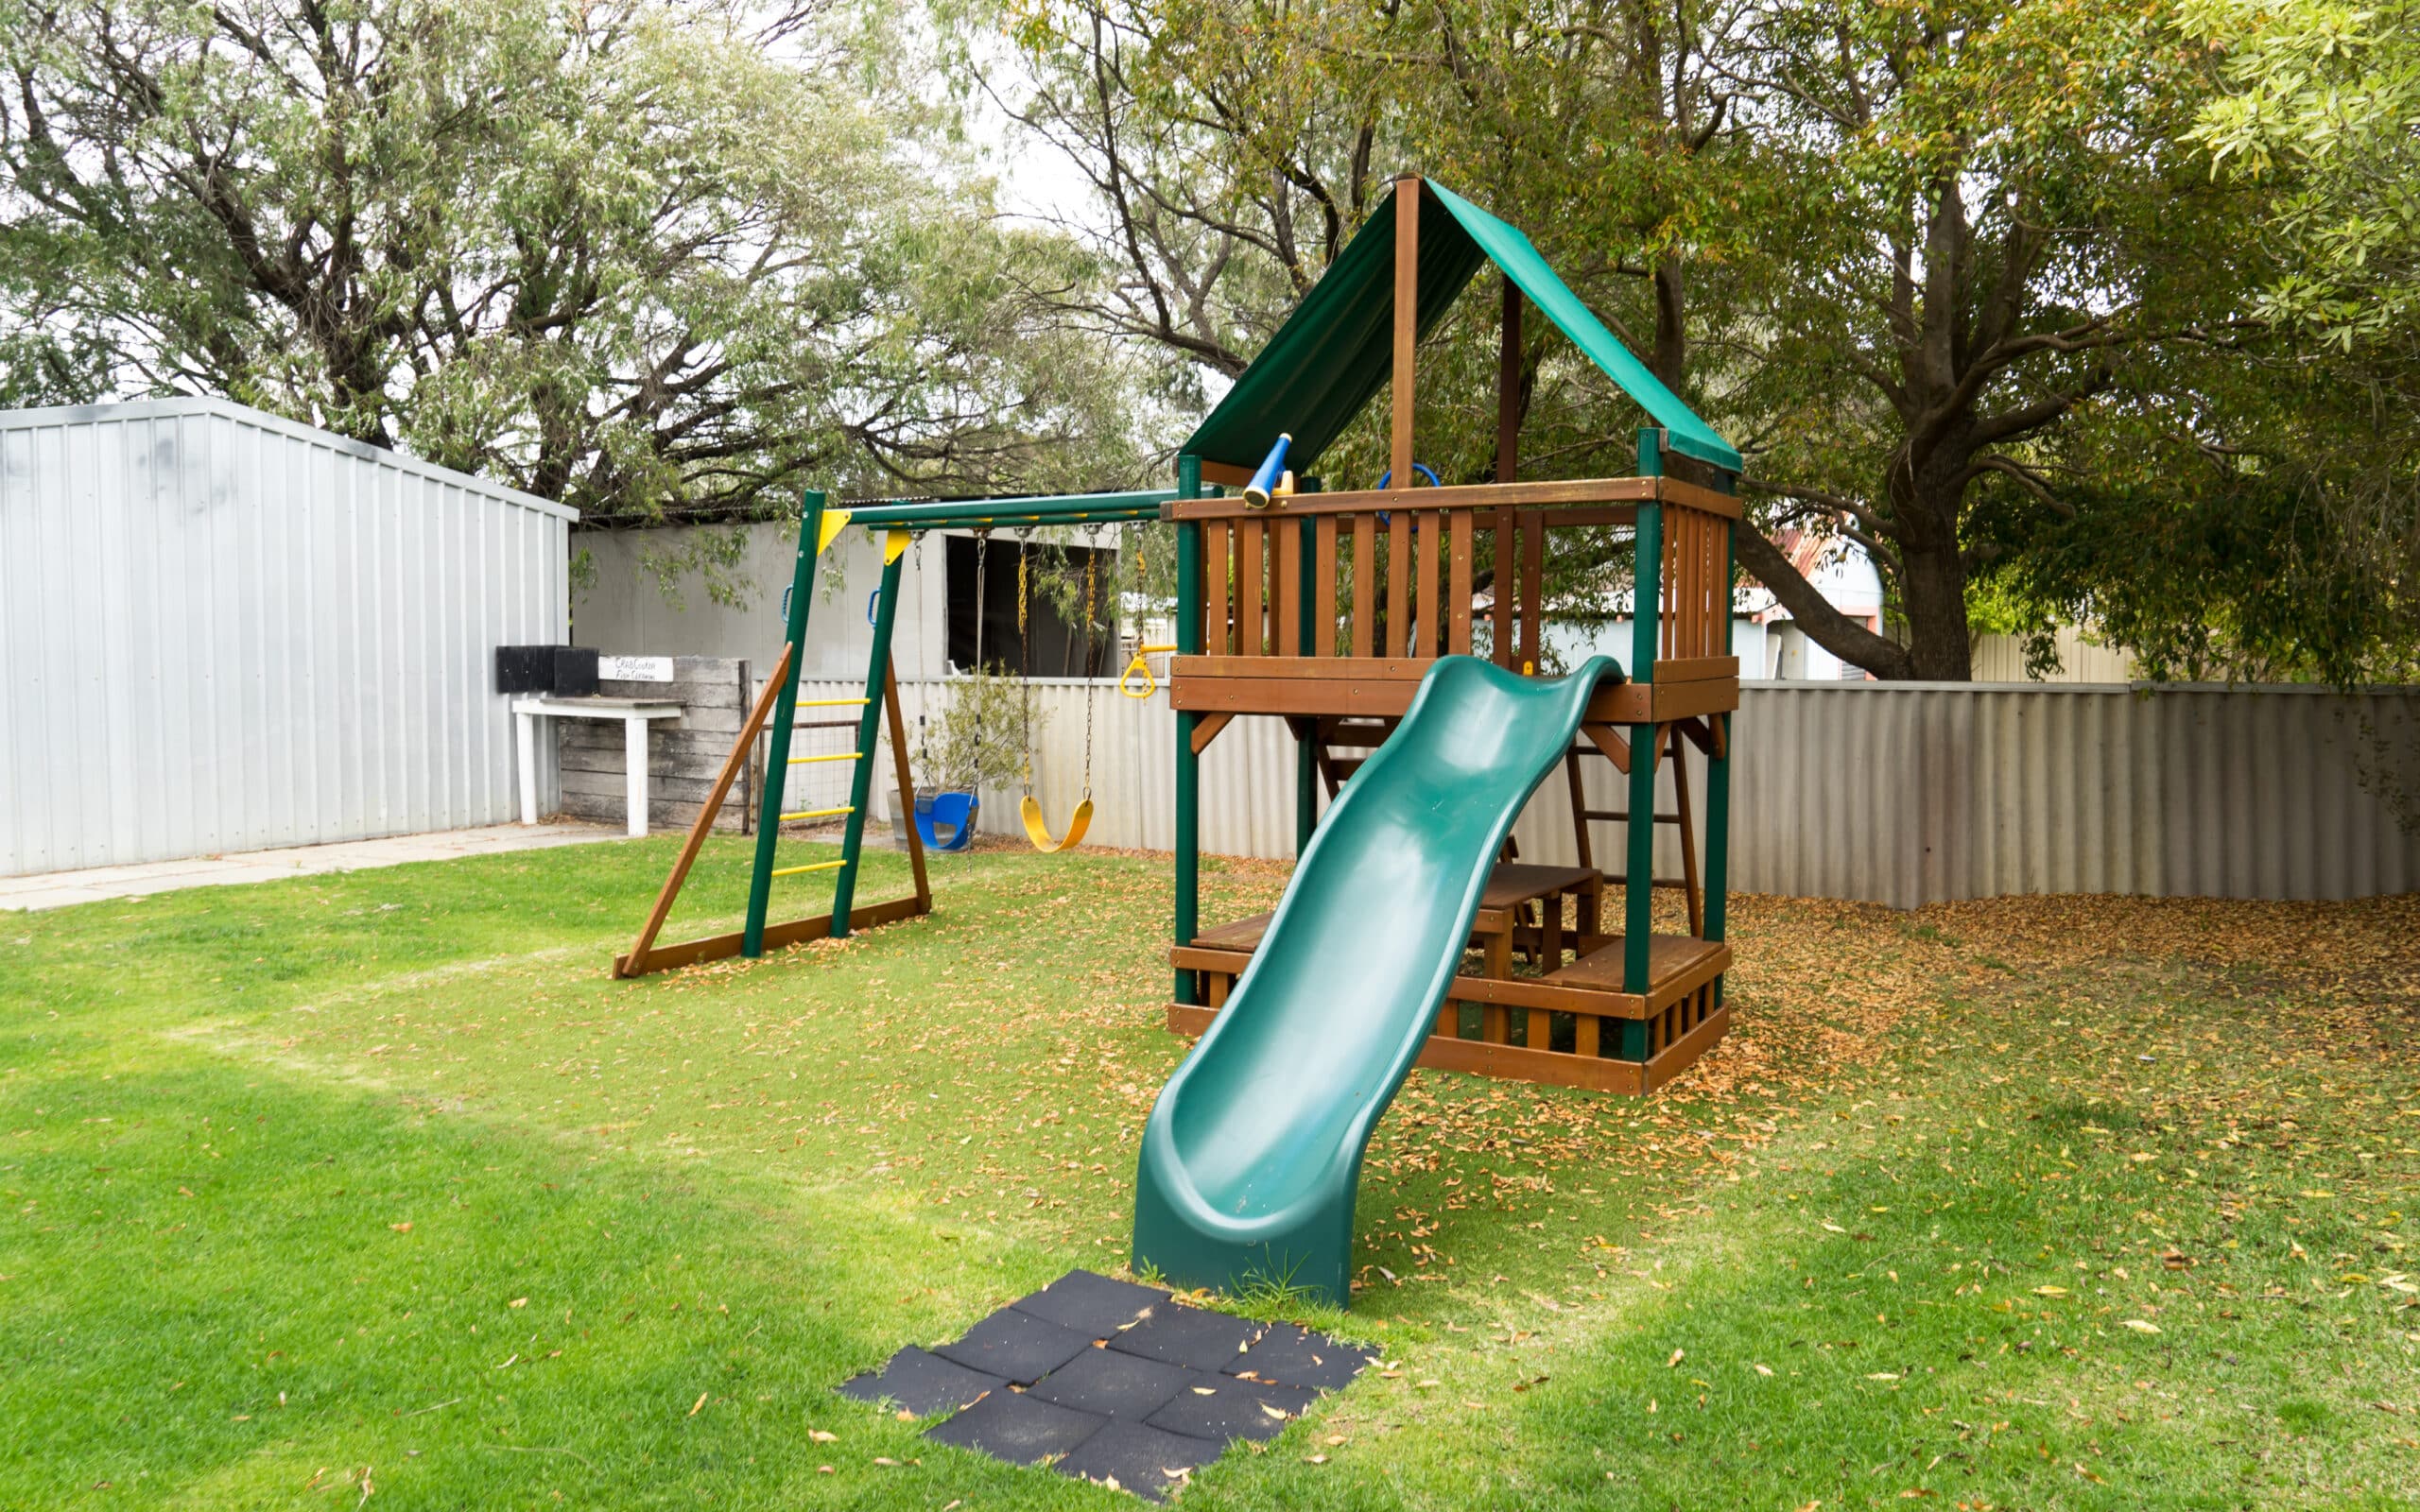
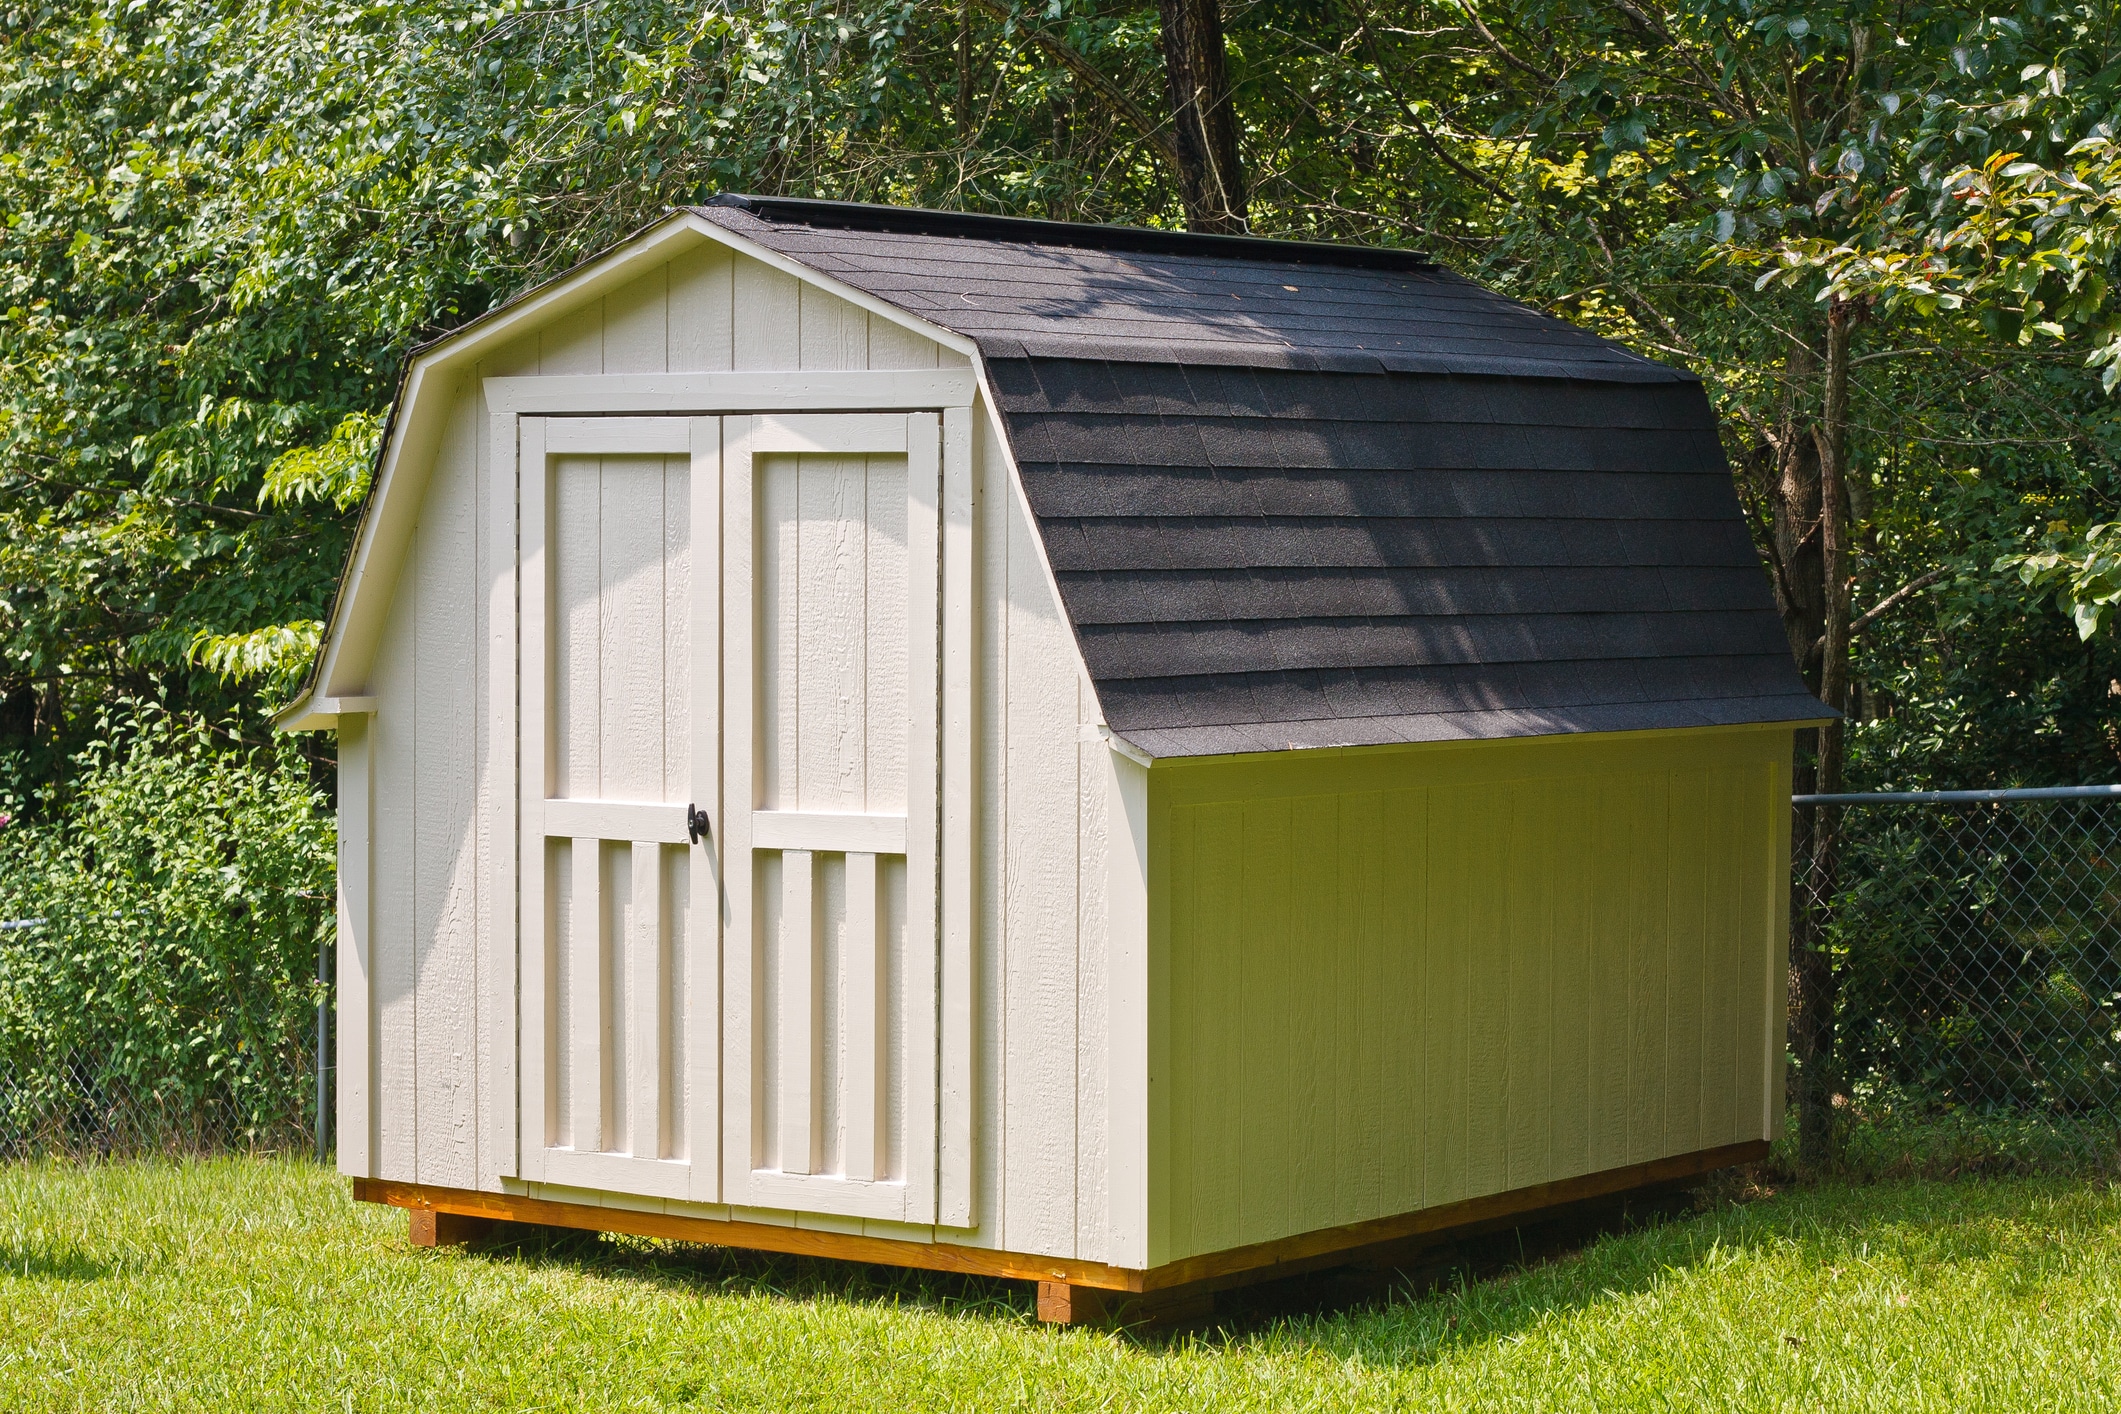
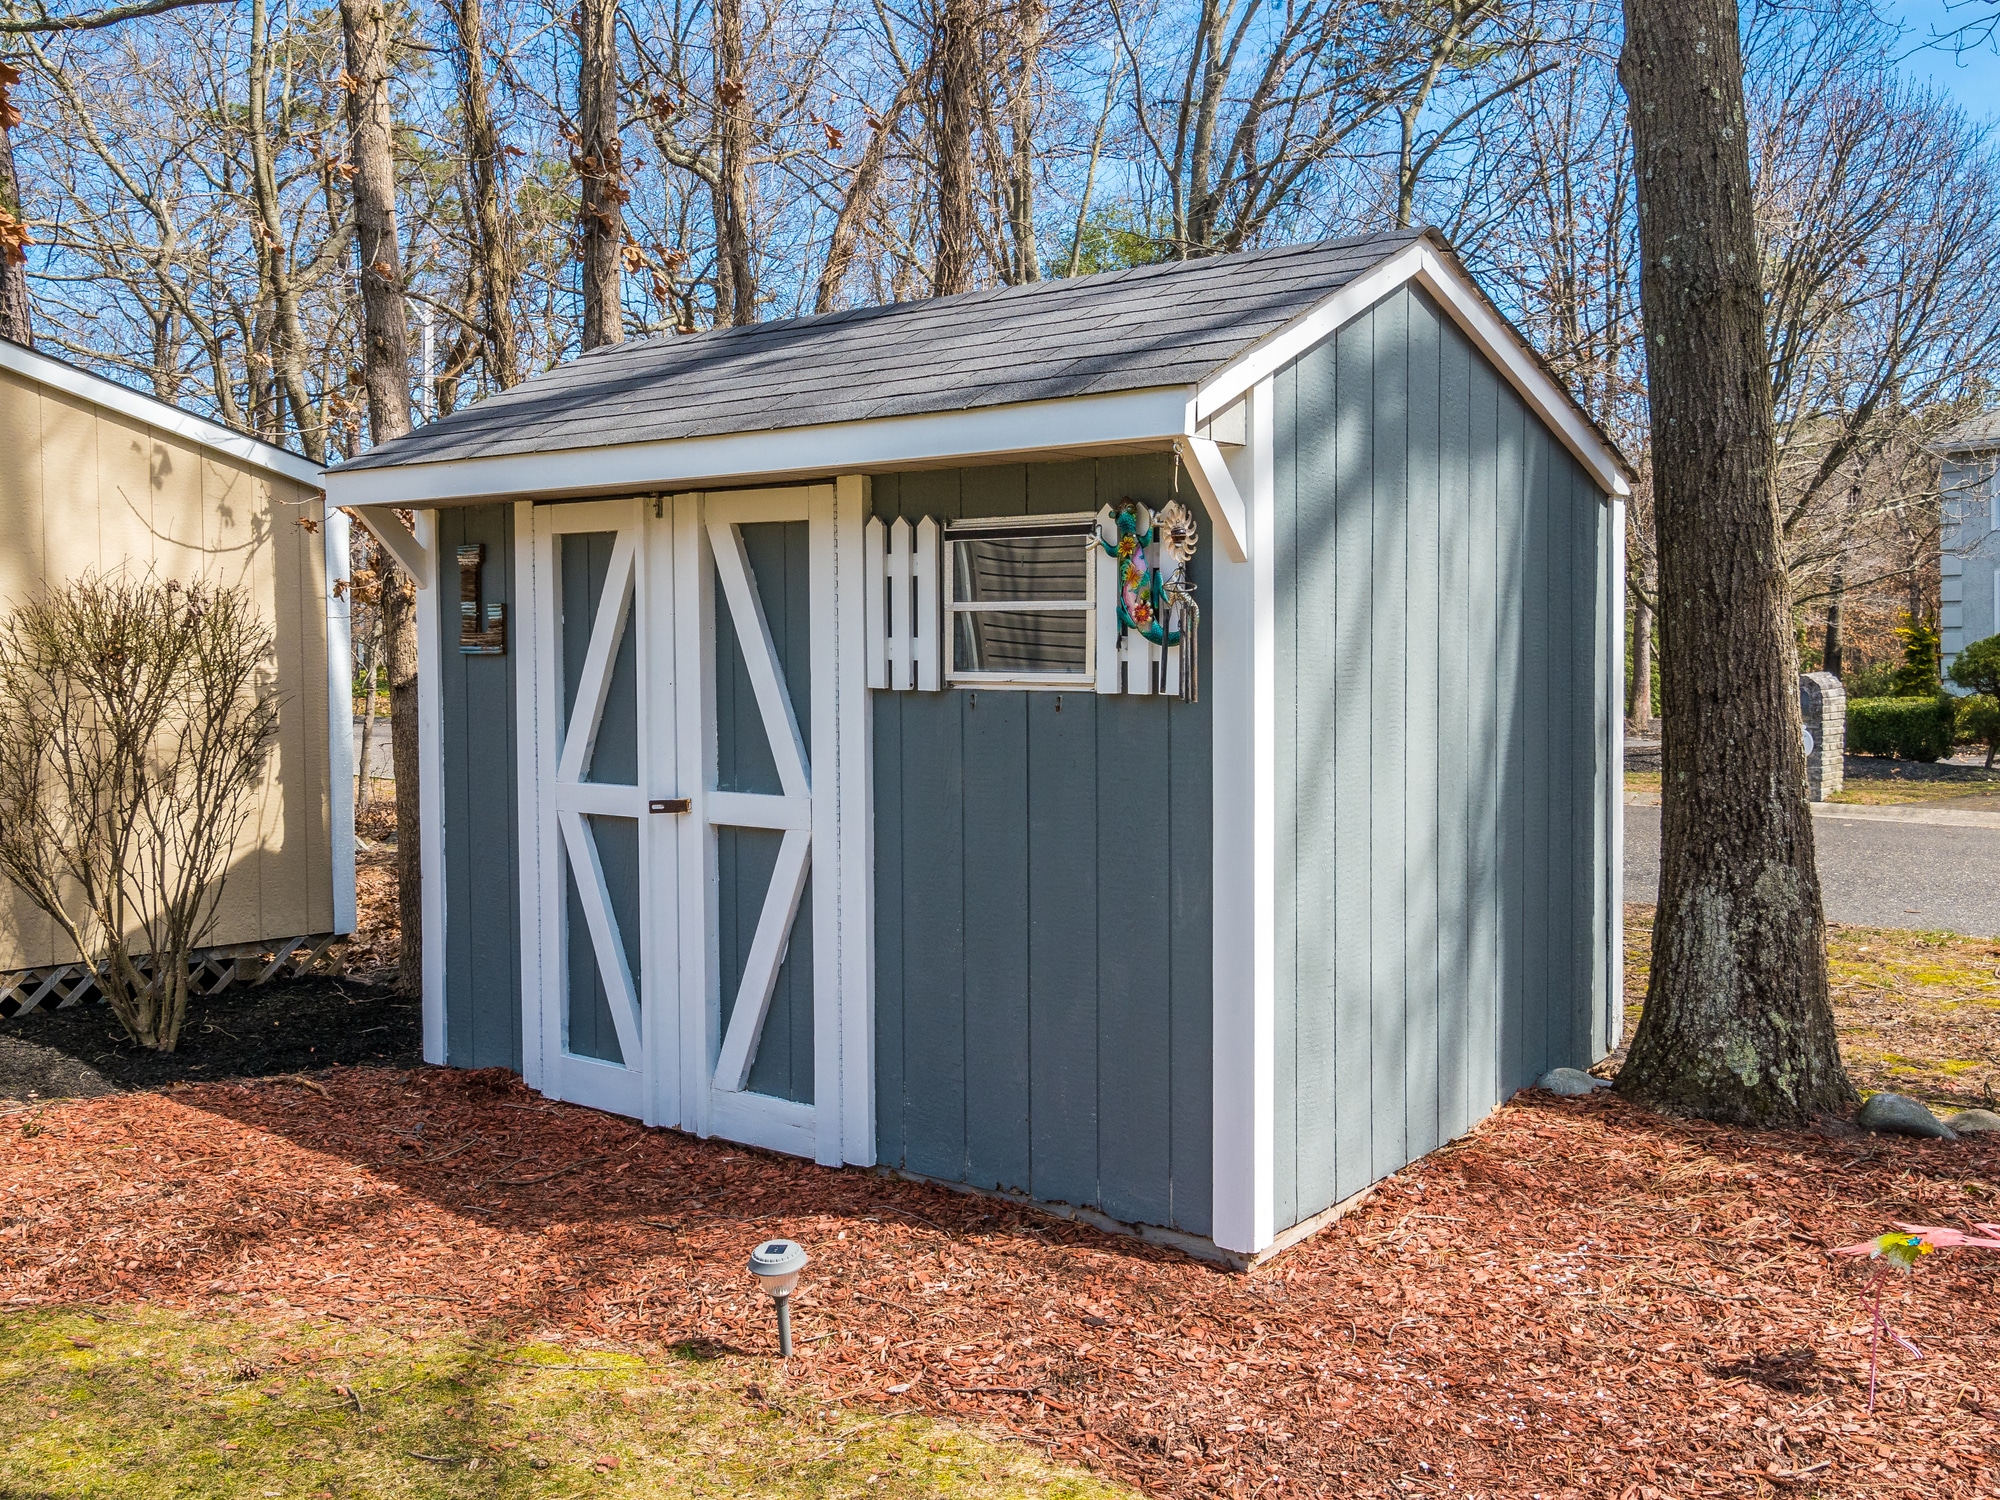
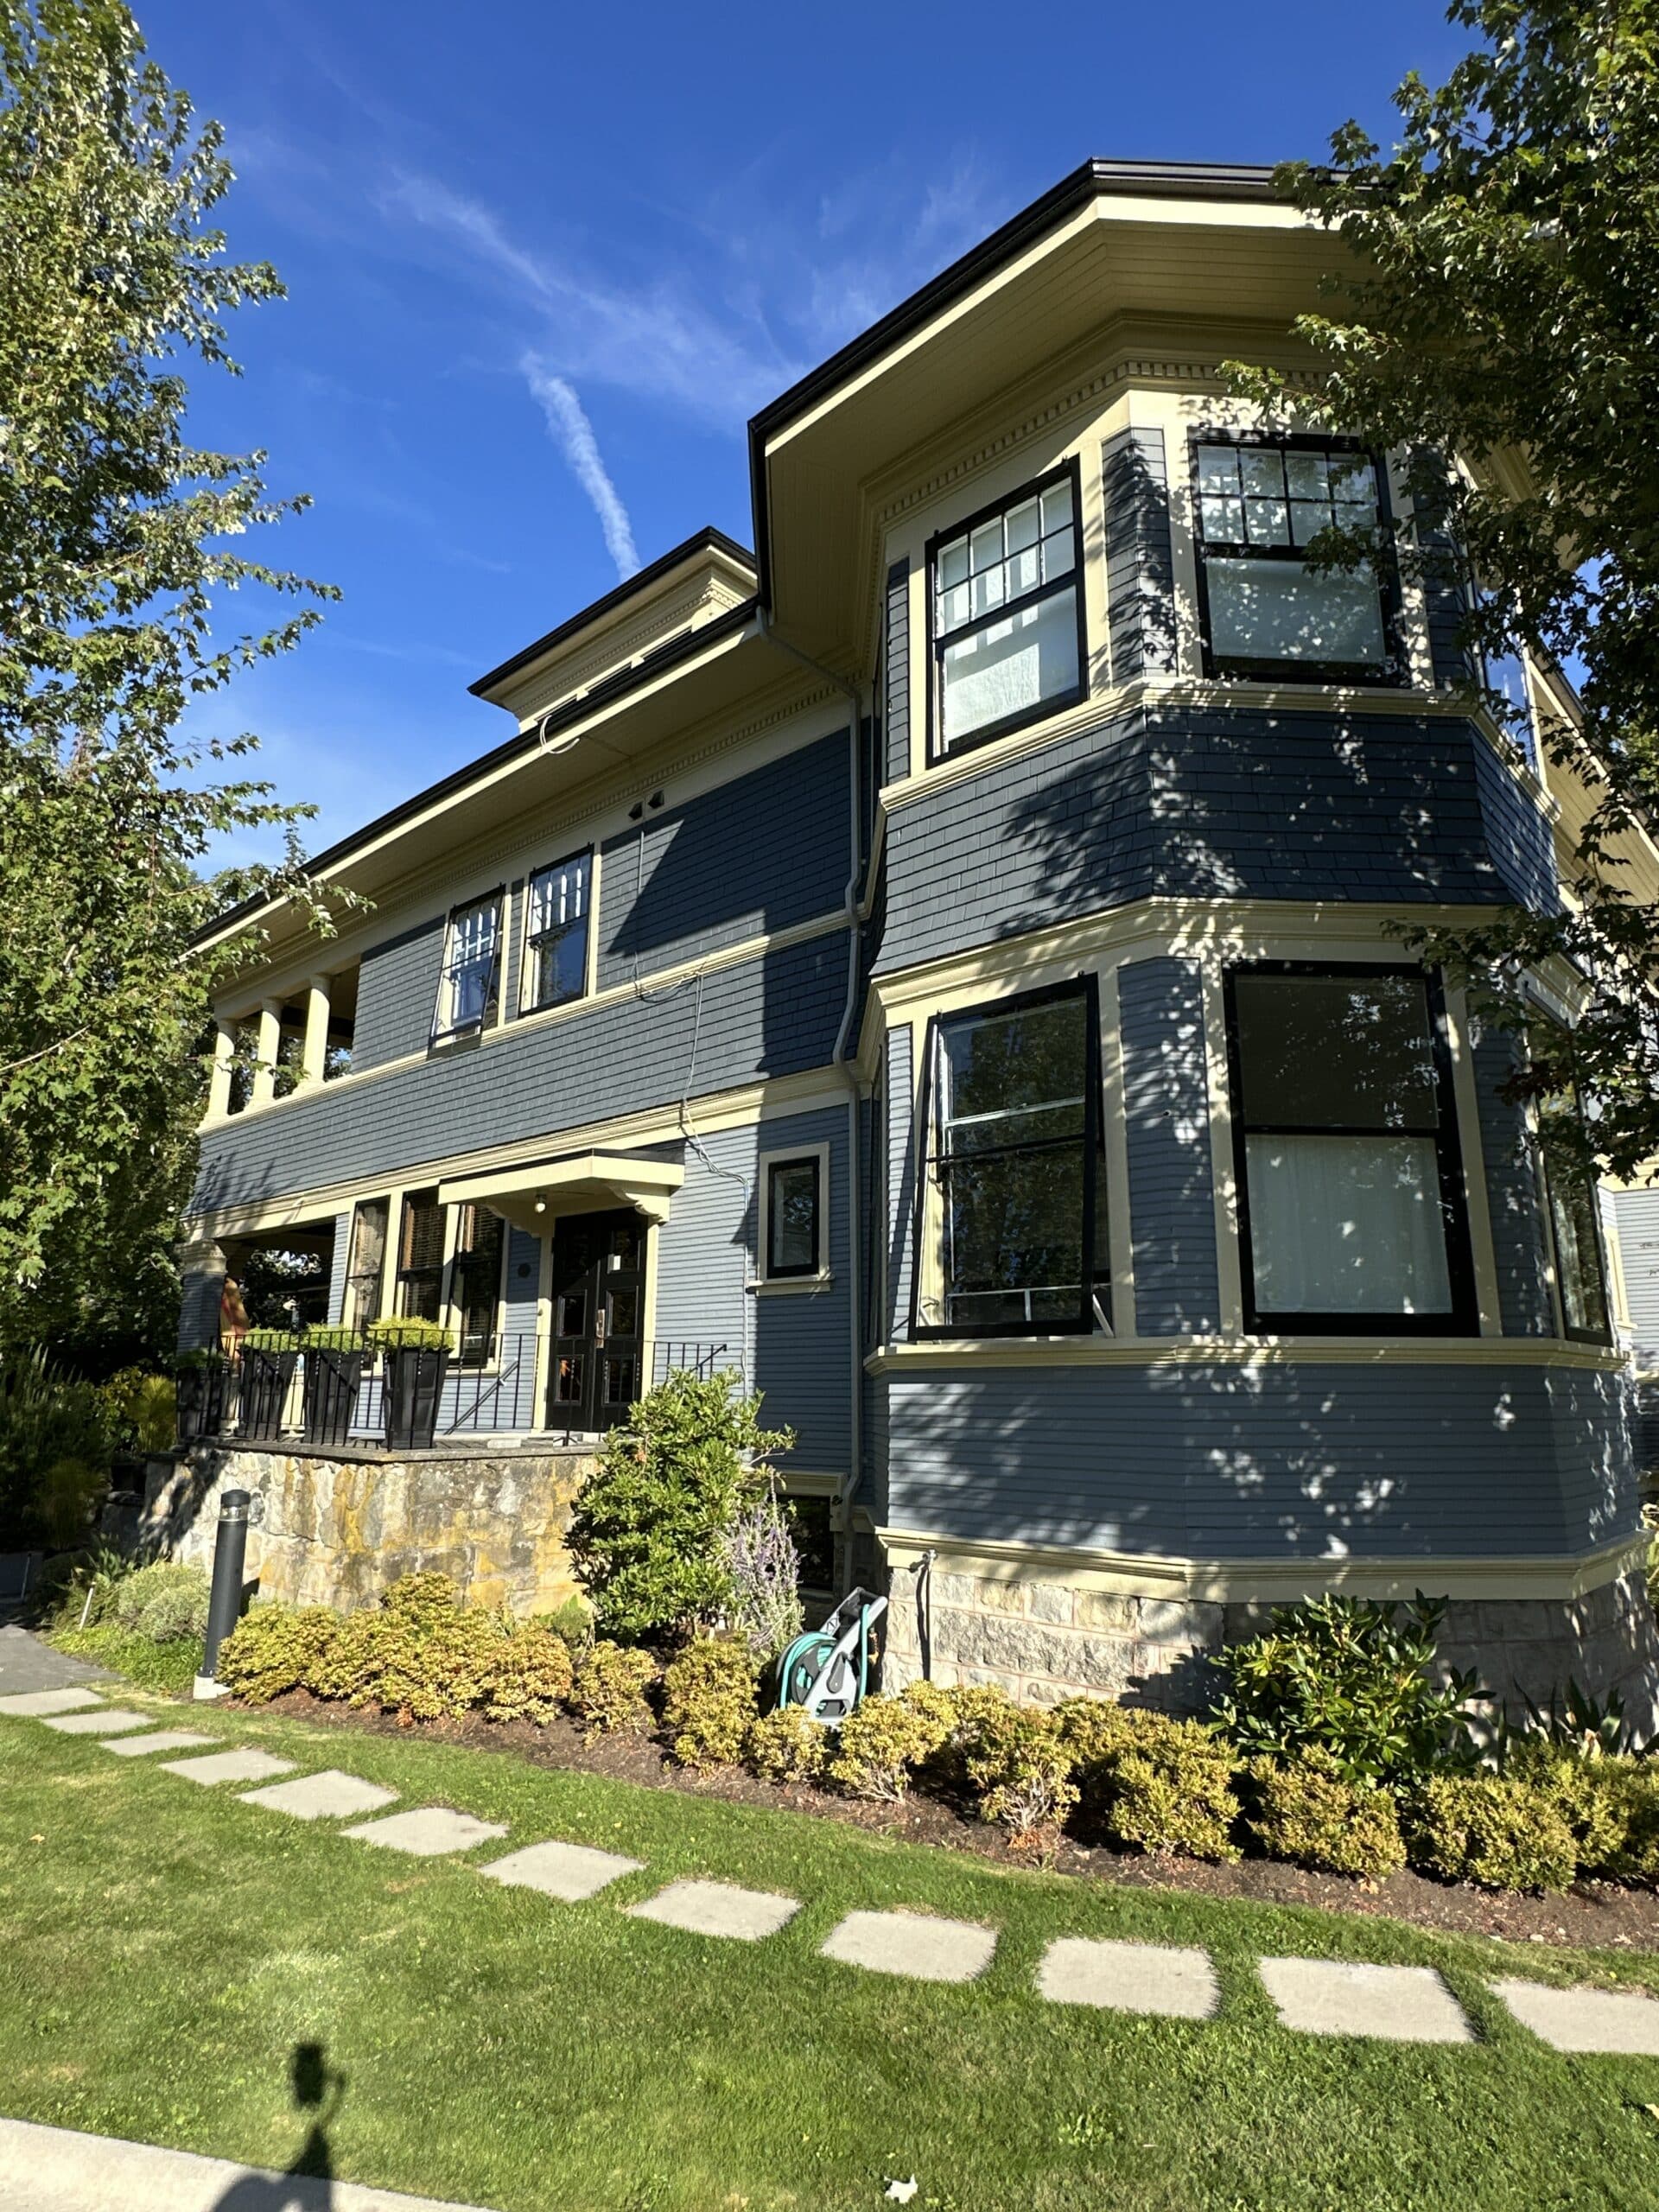
Deck & Fence Staining and Painting Gallery